01 / 03
Start with the option you ordered
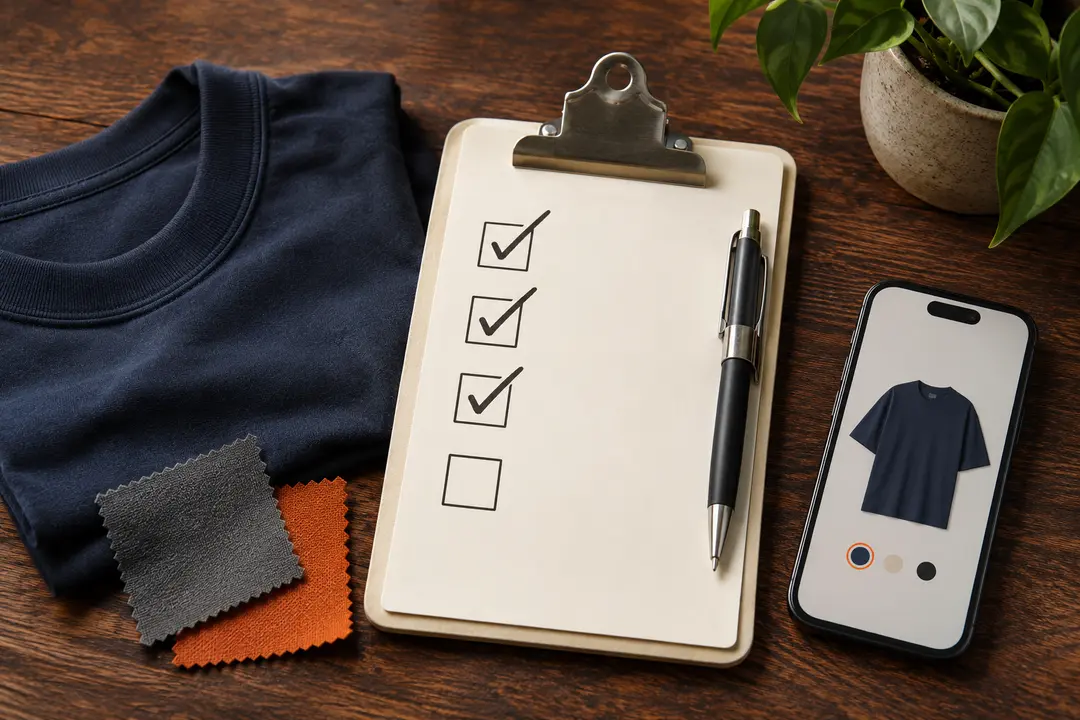
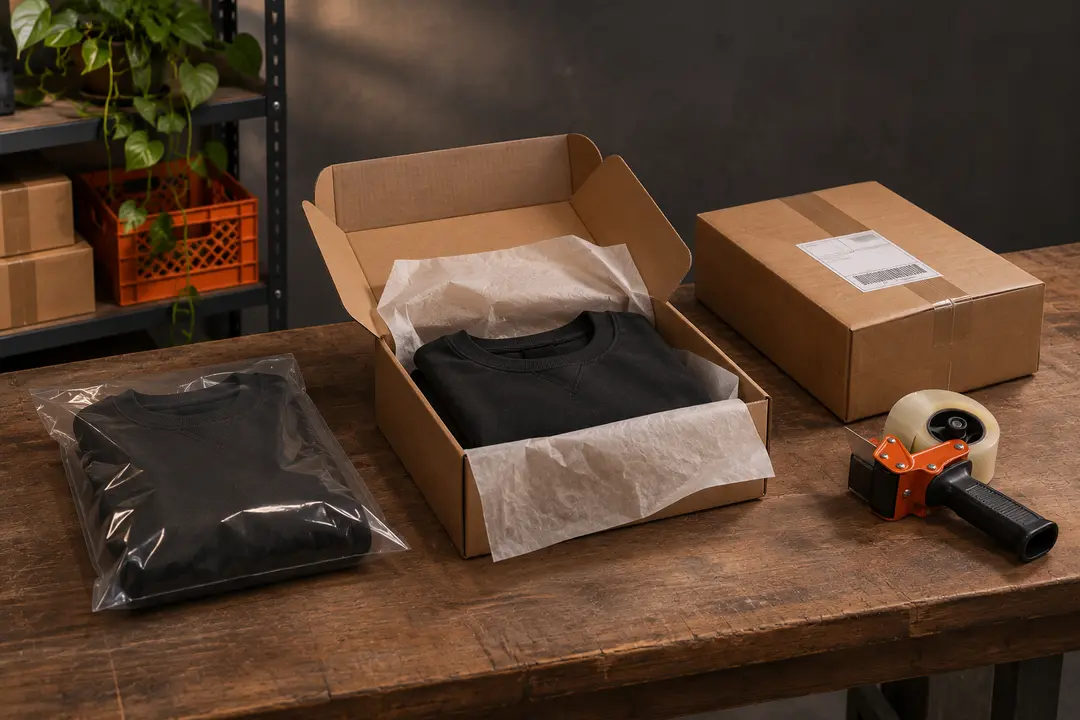
When warehouse inspection photos are available, put the order details next to the photos. Check the color, size label, quantity, and any pieces that should come with the item. Compare the photos with the exact option you selected on the listing.
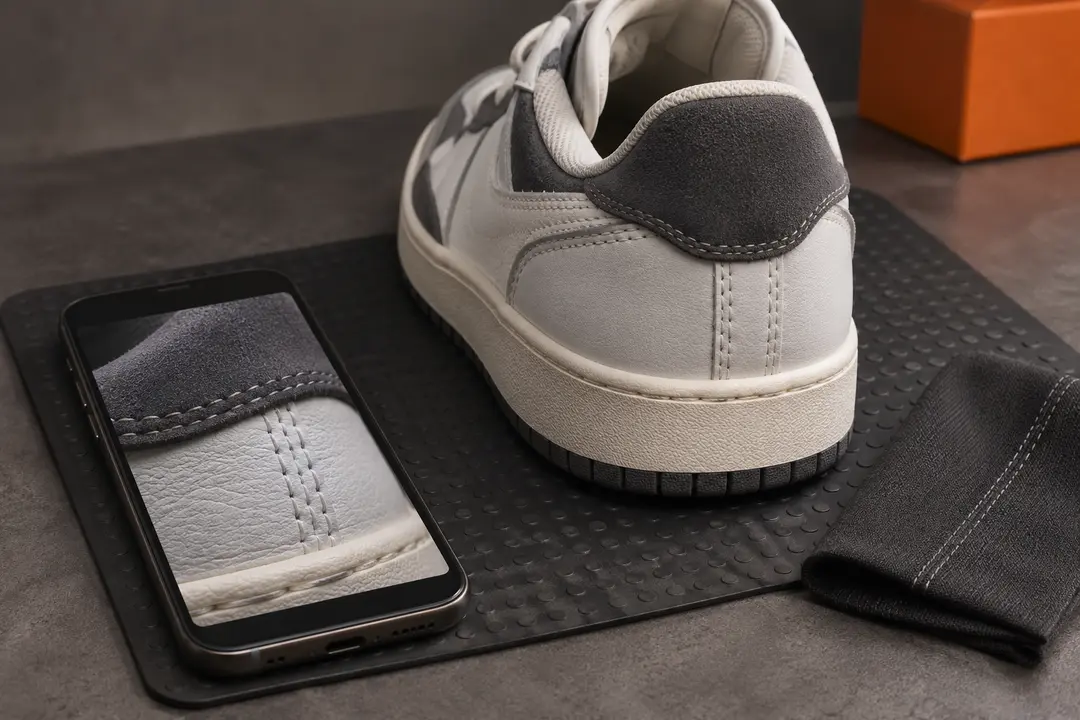
For a pair of shoes, check both size labels if they are visible, then compare the toe shape, heel seams, soles, and included laces. For clothing, look at the size tag, front and back panels, and the main seams.
02 / 03
Ask about one visible detail at a time
For example, if you ordered EU 42 and the only readable shoe tag says EU 43, save the image and your order reference. You could ask, “I selected EU 42. The label in photo 2 appears to say EU 43. Could you check the size on both shoes?”
If you see a mark in one angle, compare it with other views before deciding whether it is a shadow or a visible issue. If a key area is missing, ask through the order’s available support options.
03 / 03
Resolve any open questions before shipping
Keep the order reference and relevant photos while you check the options shown in your account. Photos help with visible details. Questions about materials, authenticity, or performance need other evidence.
We may earn a referral fee.
Register with ZentBuy